• Skip to primary navigation
  • Skip to main content
  • Skip to footer
Metalicon

Metalicon

Ergonomic accessories

  • Monitor Arms
    • Duro
    • Kardo
    • Levo
  • Power + Charge
    • Boost 65
    • Boost
    • Click
    • Powerlink
    • Powerstrip
    • Solo Plus
  • Cable Management
    • Cable Baskets
    • Cable Sock
    • Cable Trays
    • Linx Cable Spine
  • Computer Mounts
    • S1
    • T1
    • T2
    • Laptop Riser
  • Support
    • Installation
    • Advice
  • Show Search
Hide Search

Powerstrip Installation

Step-by-step installation instructions

Before you start: ensure the cutout in the table is the correct size for the module.

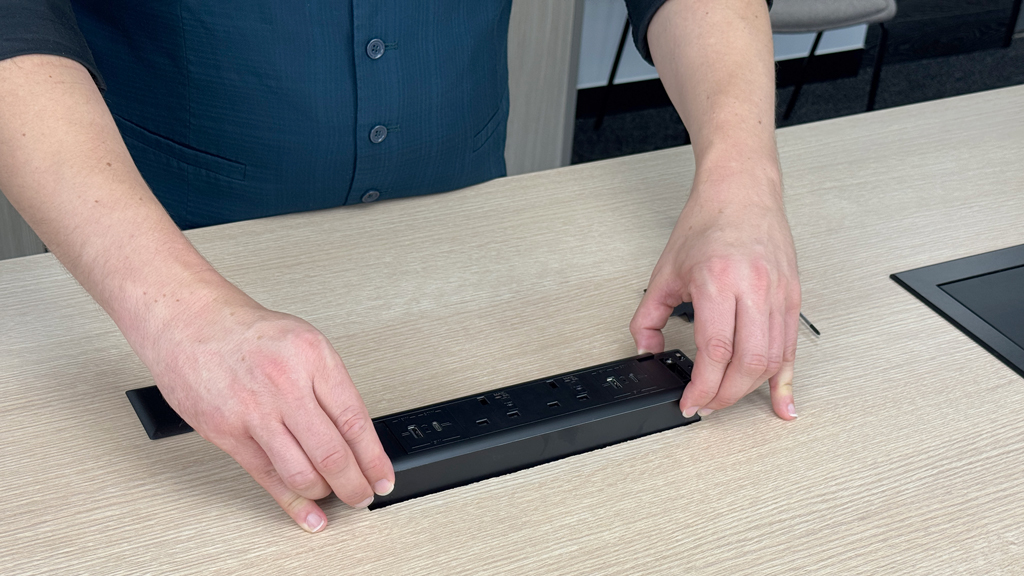
1. Carefully drop the Powerstrip module into the cutout hole.
Powerstrip module installation

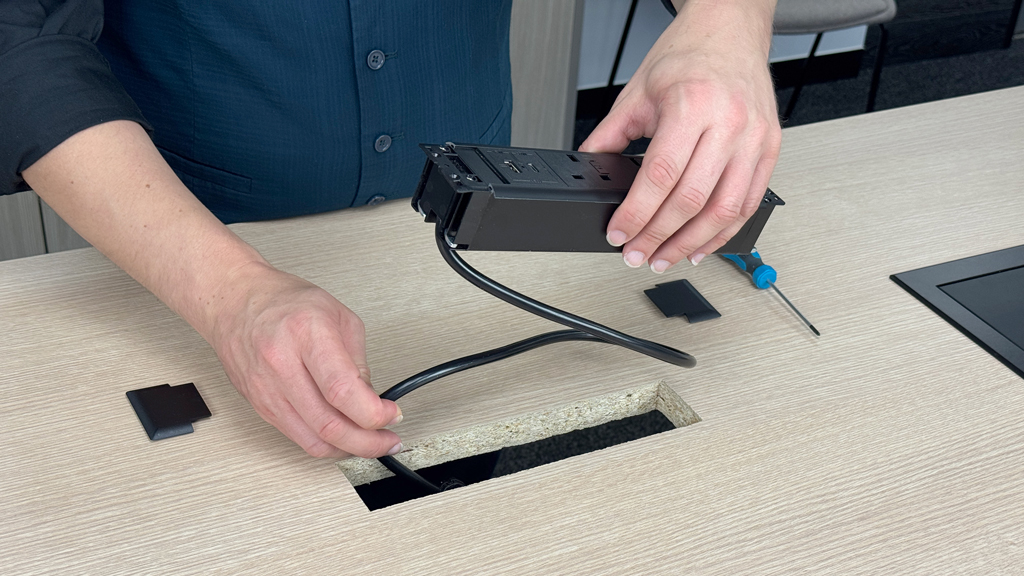
2. Carefully tighten the 4 bolts with a cross head handheld screwdriver.
Powerstrip module installation

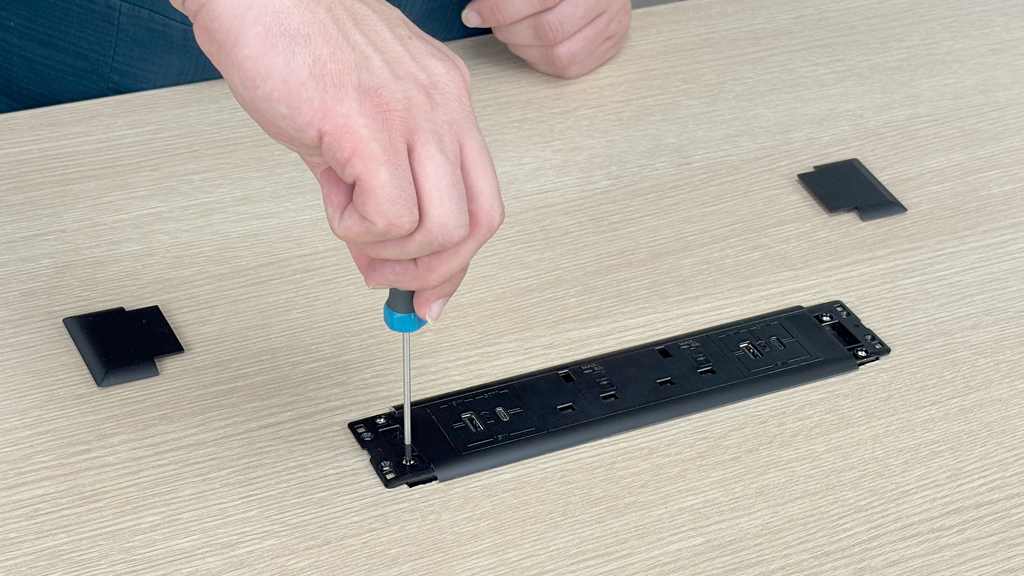
This will slowly raise the 4 lugs underneath the table to secure the module to the tabletop.
Powerstrip module installation

3. Firmly press the 2 end cover caps down until they click into place.
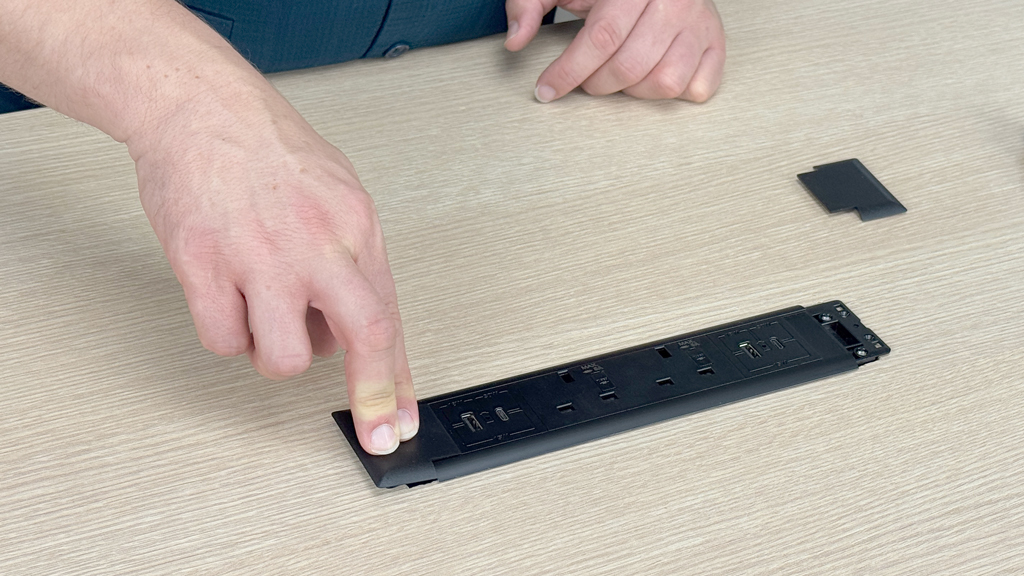
Powerstrip module installation

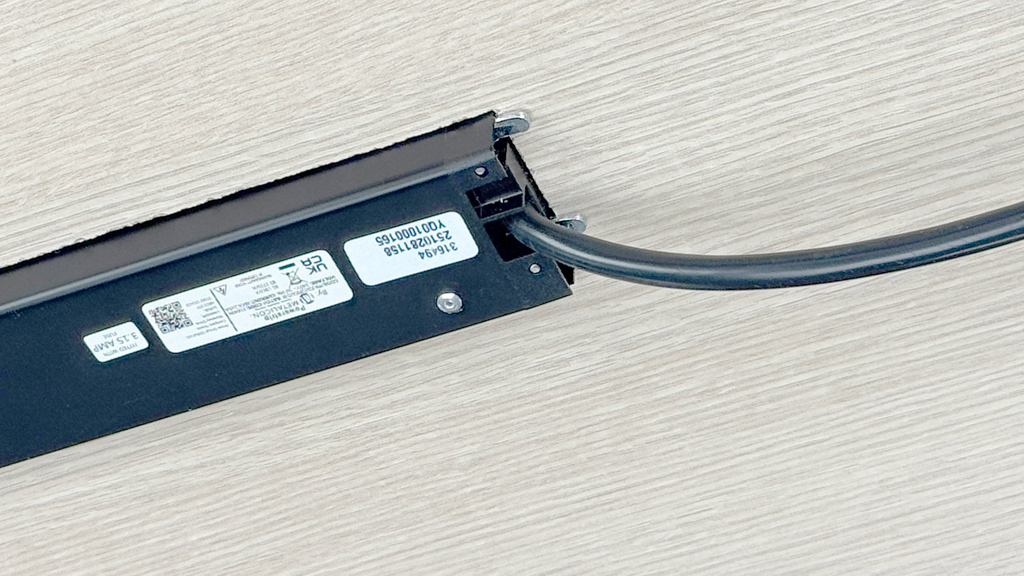
4. Connect the 3-pole power cable and (if applicable) Cat6 and HDMI cables.
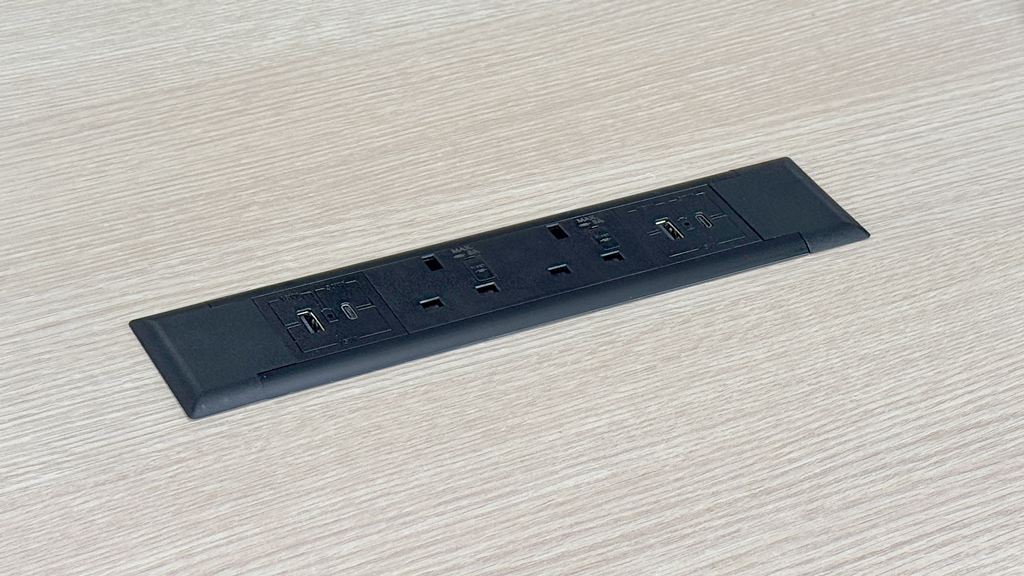
Powerstrip module installation

If you require any additional help with any Metalicon products please contact our Support Team:

Telephone: +44 (0)1502 533 444
Email: support@metalicon.com

Footer

Ergonomic
workspace
solutions

+44 (0)1502 533 444
sales@metalicon.com

  • LinkedIn
  • YouTube

Partner with us
Become a Metalicon dealer

Looking to buy?
Find a Metalicon dealer

SHOWROOM
82 Turnmill Street
Clerkenwell EC1M 5QU
United Kingdom

HQ
Waveney Drive
Lowestoft NR33 0TP
United Kingdom

Copyright © 2026 Arrow Group Global Ltd t/a Metalicon | Registered in the UK: 09836261 | VAT: GB 644188131 | ISO 9001:2015 & ISO 14001:2015
Warranty | Terms & Conditions | Privacy Policy | This site is protected by reCAPTCHA and the Google Privacy Policy and Terms of Service apply.